Order Management
- Approving an event order
- Approving a single order
- Batch approving orders
- Adding a line item order batch
- Altering an order
- Refund / Discount Process
- Excluding an order
Approving an event order
Group managers can alter the billing status of individual events from the calendar event details using the "Billing Status" dropdown and then clicking the "Update Event" button.

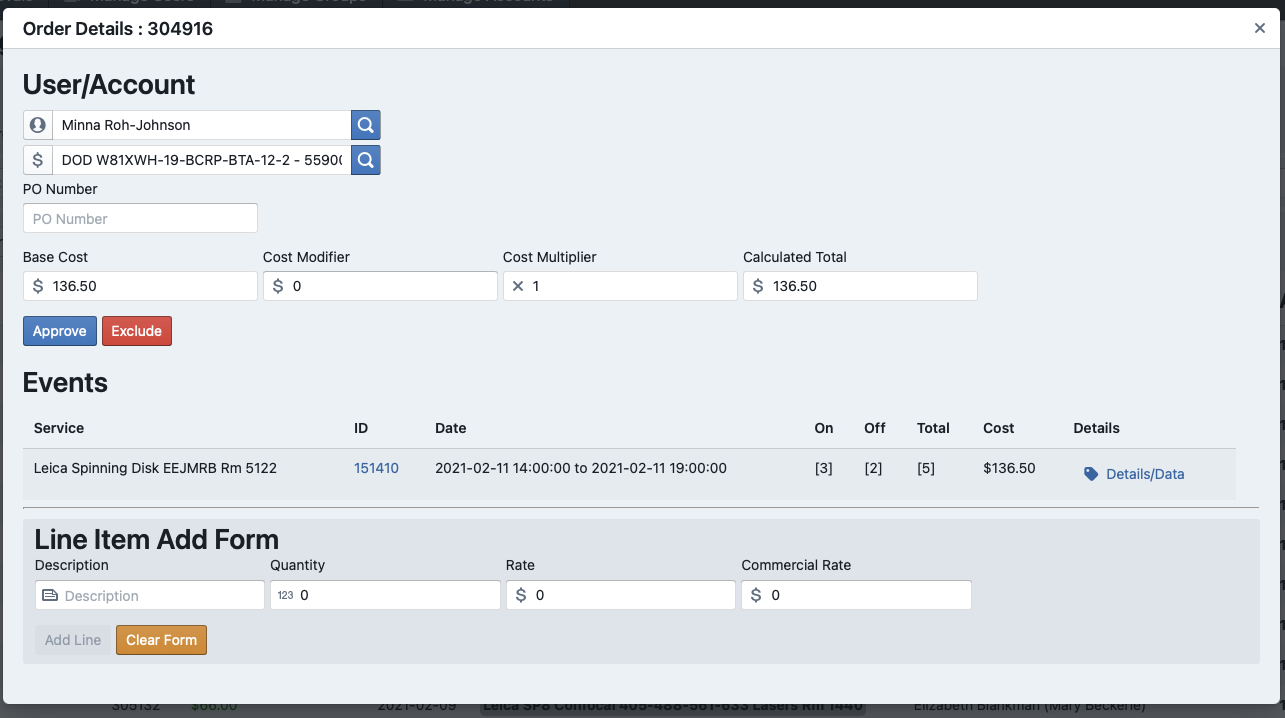
Approving a single order
- Click on the "Manage" icon in the top bar

- Click on "Manage Approvals"

- Click on the button for the group that has the order to be approved

- Click on the order row you wish to approve

- Click on the "Approve" button


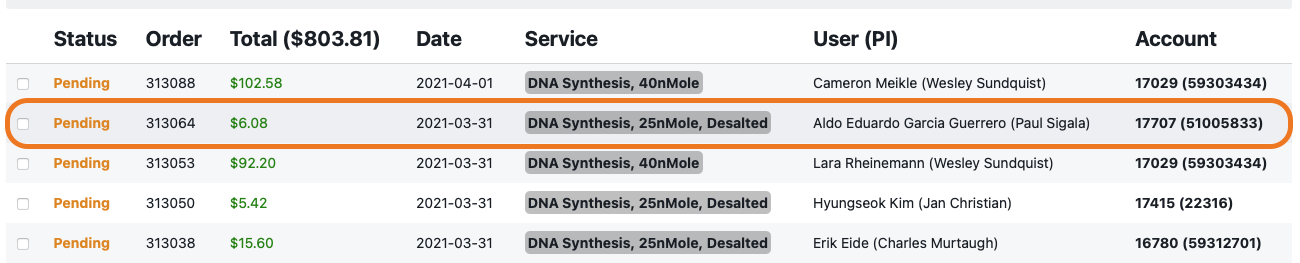
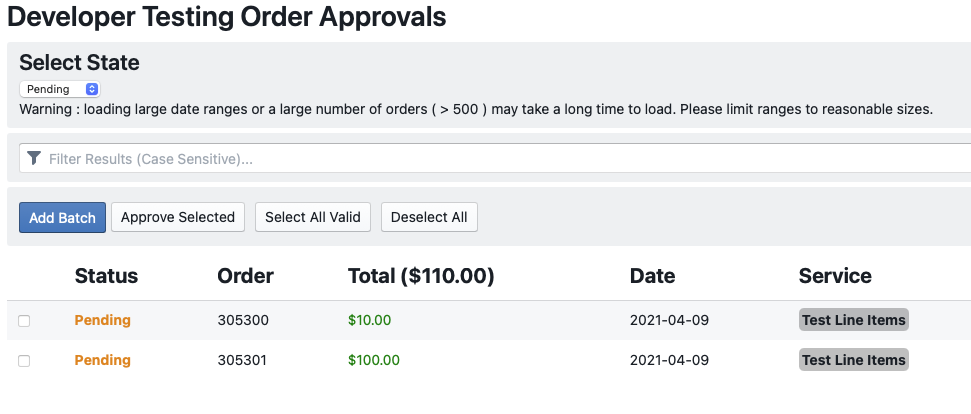
Batch approving orders
- Click on the "Manage" icon in the top bar
- Click on "Manage Approvals"
- Click on the button for the group that has the order to be approved
- Use the check boxes next to the order rows to select all orders that you wish to approve. You can also use the "Select All Valid" button to select all error free orders that do not occur in the future for approval.

- Click the "Approve Selected Button"

- Click the "Confirm" button


Adding a line item order batch
For groups that need to add large numbers of line item orders there is a Batch Upload form available for managers. This can be accessed from the "Manage Approvals" interface.

This will take you to the batch order upload interface.
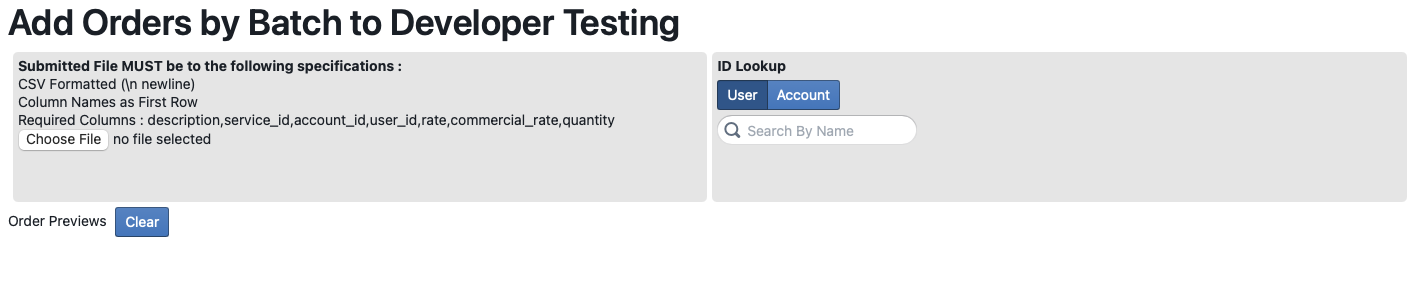
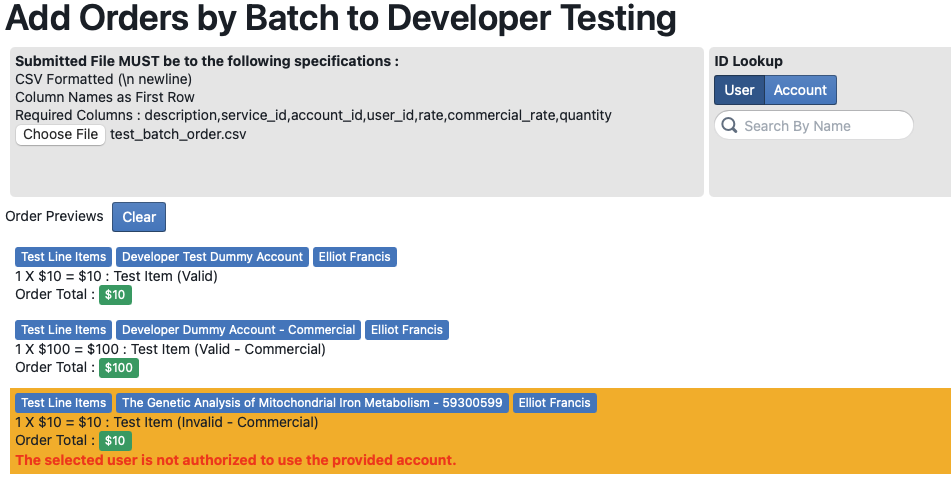
This interface allows managers to upload and validate a list of charges to be grouped by charge account into orders. The order CSV file must include the following fields:
- Charge description
- Service ID (system id) of the service to create the charge for
- Account ID (system id, not short account) of the account to be charged
- User ID (system id) of the user who is ordering the charge. Note that this ID MUST be an account that is both valid and that the provided user is authorized to charge on.
- The rate per item to charge
- The commercial rate per item to charge
- The quantity to be charged for
Note that line items will be grouped into orders based on the account_id and user_id fields. If you need line items for the same user and account to appear in separate orders you will need to upload them in separate files
After upload the system will provide feedback on the uploaded file, including any errors
Once any issues have been resolved a "Submit" button will appear at the bottom of the list of orders
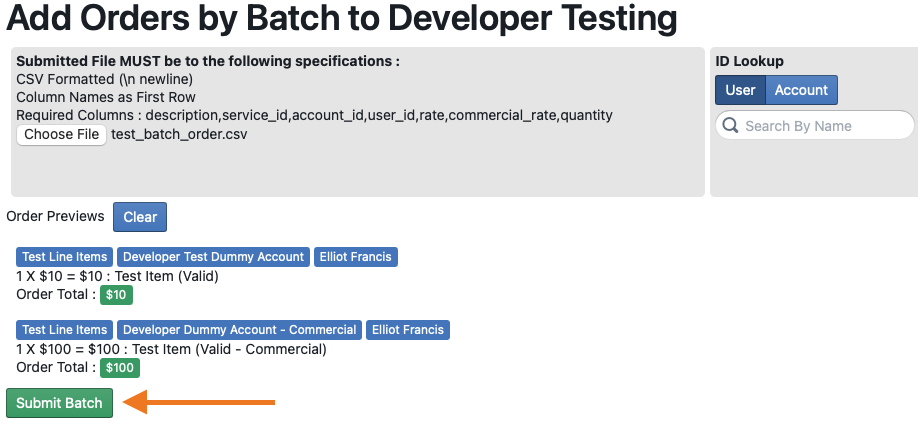
After a successful submit you will be returned to the "Approvals" screen and the newly created orders will appear on the orders list.
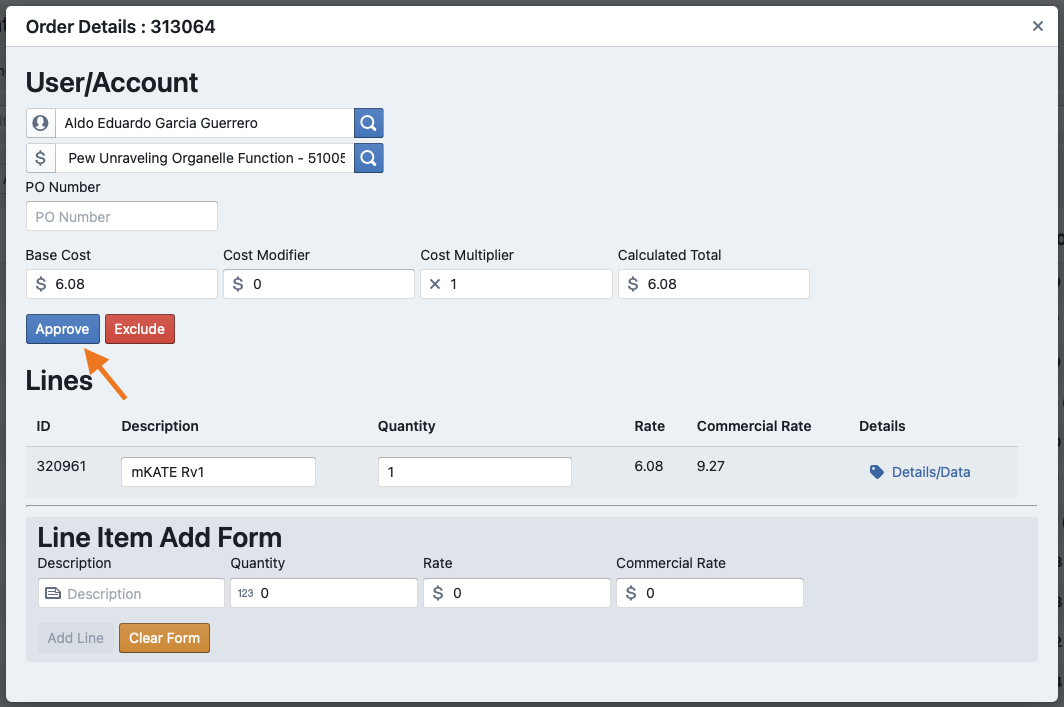
Altering an order
- Click on the "Manage" icon in the top bar
- Click on "Manage Approvals"
- Click on the button for the group that has the order to be approved
- Click on the order row you wish to edit
- Edit any details of the order you wish to change and then click the "Save" button.

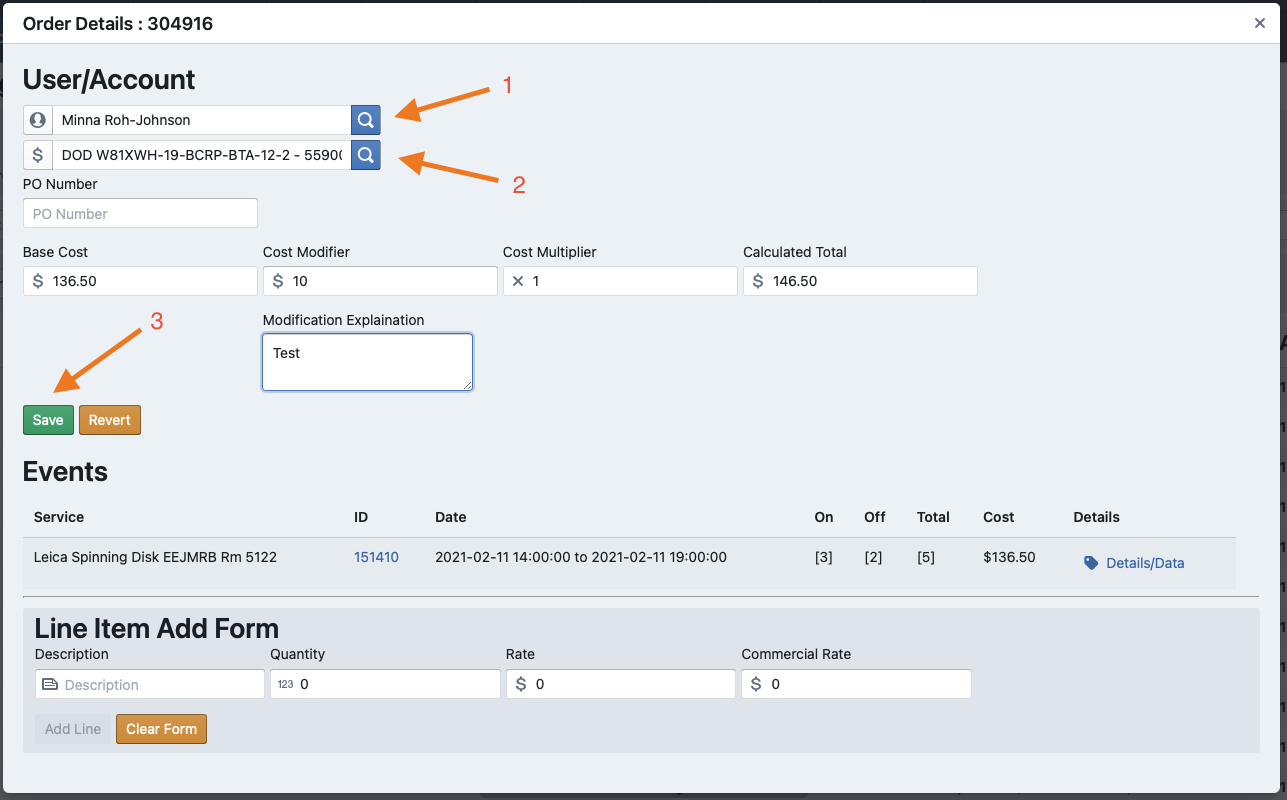
Note: Line item's on existing orders can only have their quantity altered. If a line MUST have it's rate altered please zero out the desired line and add a new Line Item using the "Line Item Add Form"
Adding a Line Item
Line items can be added to any order by using the "Line Item Add Form". This form functions the same as a standard line item form absent the custom data fields. Please note that added line items CANNOT be remove and instead must be zeroed out after adding.
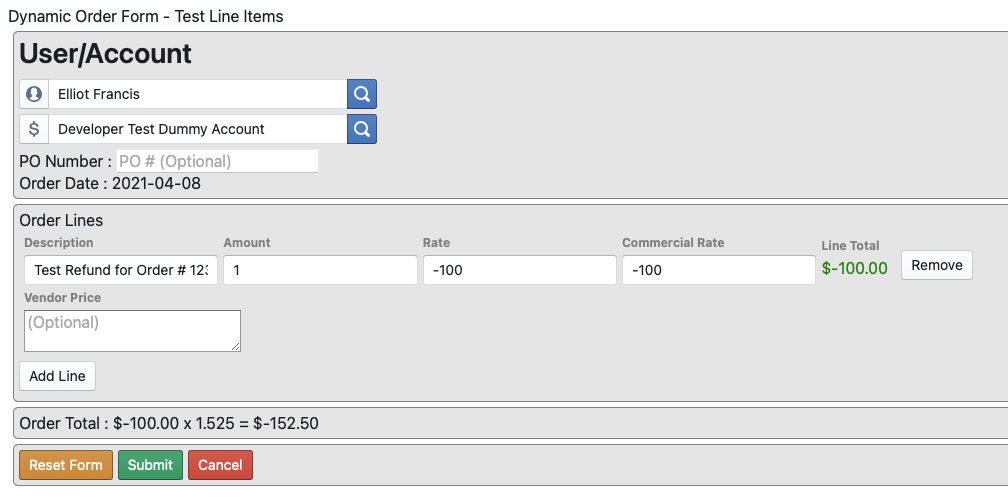
Refund / Discount Process
For historical reasons orders cannot be voided or deleted from the system. Occasionally mistakes are made and a refund must be issued. To do so a manager must submit a new order with a negative value to be processed with the next billing cycle.
Process
- Go to a "Dynamic Order Form" (Often labeled "Line Item") service as a manager
- Select the user the refund will be applied to
- Select the account the refund will be applied to
- Enter a line item that results in a negative number
- Submit the form
- Approve the created order for inclusion in the next billing cycle.
Excluding an order
- Click on the "Manage" icon in the top bar
- Click on "Manage Approvals"
- Click on the button for the group that has the order to be approved
- Click on the order row you wish to approve
- Click on the "Exclude" button