**Menu items along the top and side navigation bars along with the link tiles seen on the Home Page will vary depending on your BOS role(s).**
### **BOS Navigation** The BOS System is designed to be easily navigable. There is a **collapsible side menu** along with a **navigation bar** along the top. The side menu, expanded by default, can collapse or expand using the double caret button at the bottom of the menu. *The menu items will vary depending on your role(s).* 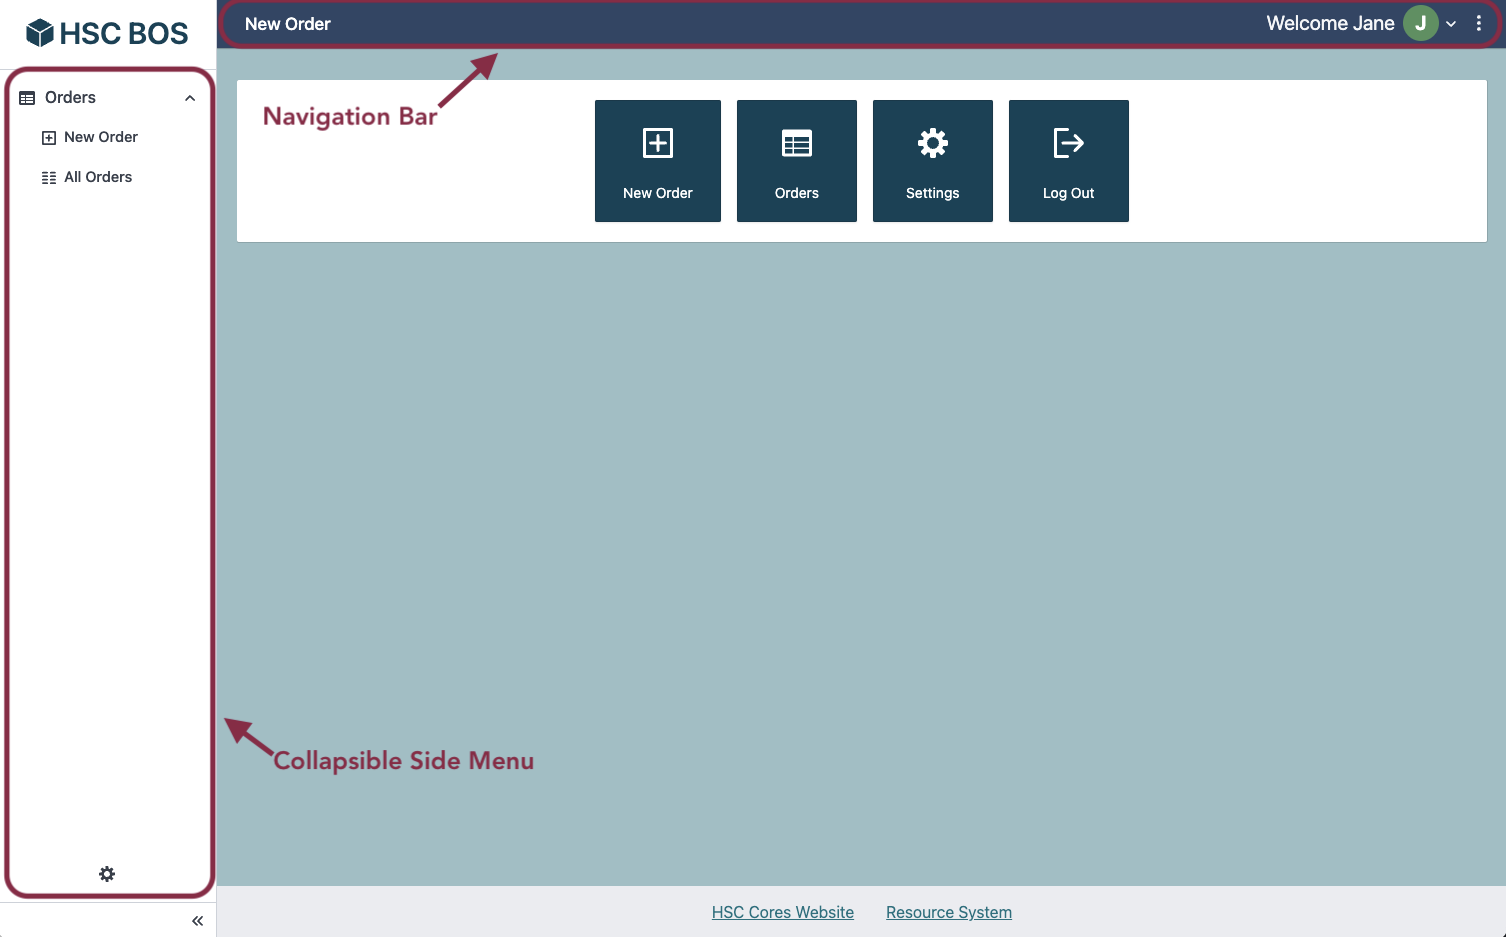 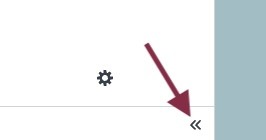 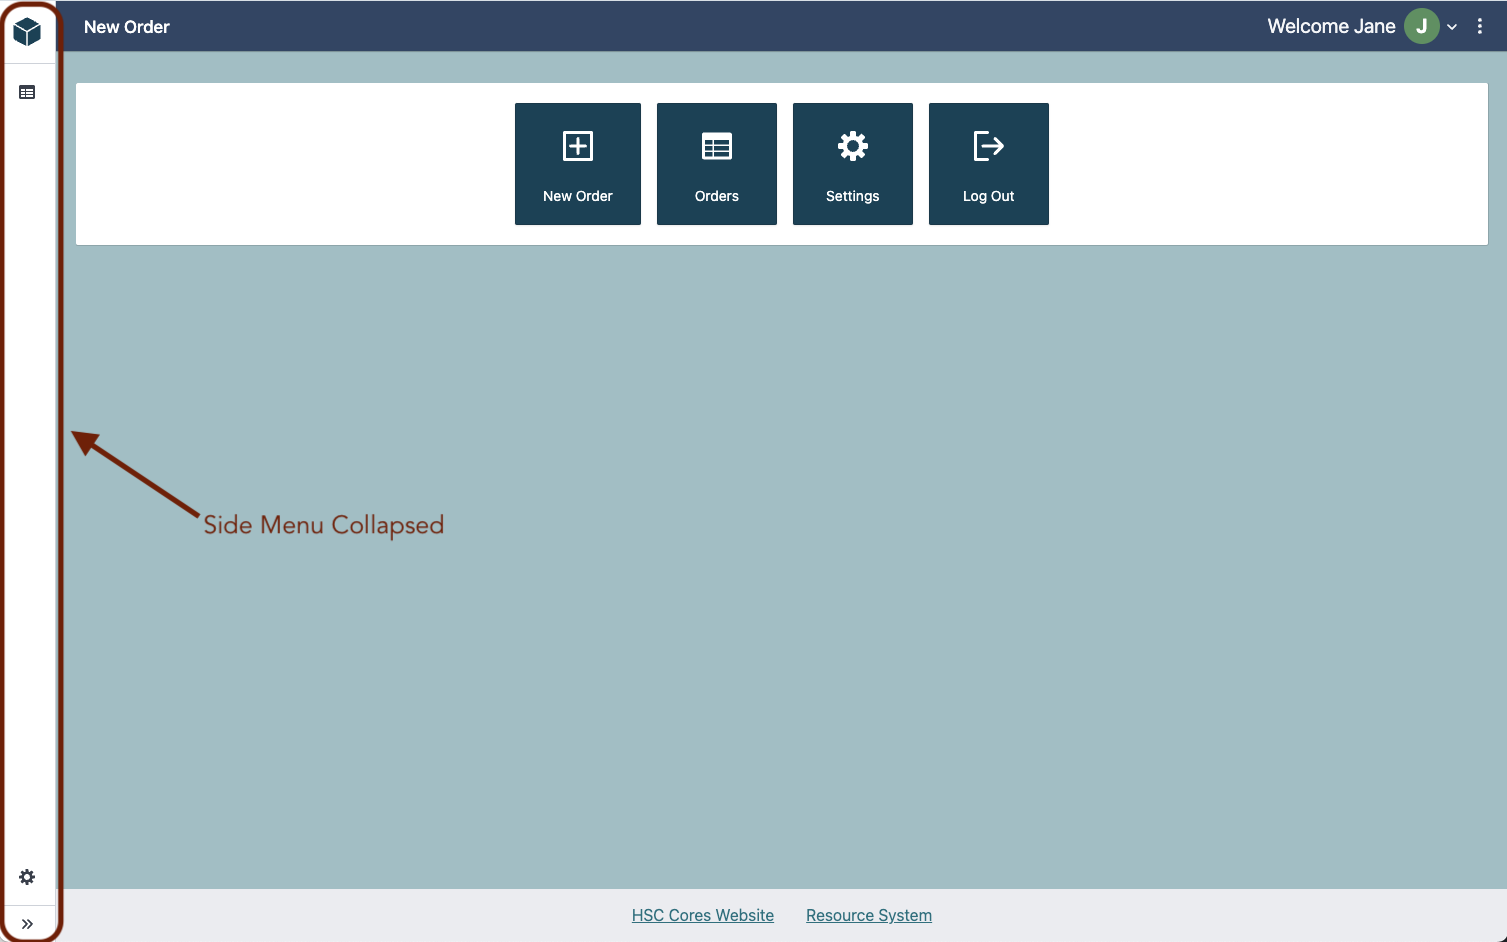 #### **Top Navigation** The top navigation bar includes **Quick links** along the left. *These links will vary depending on your role(s)*. 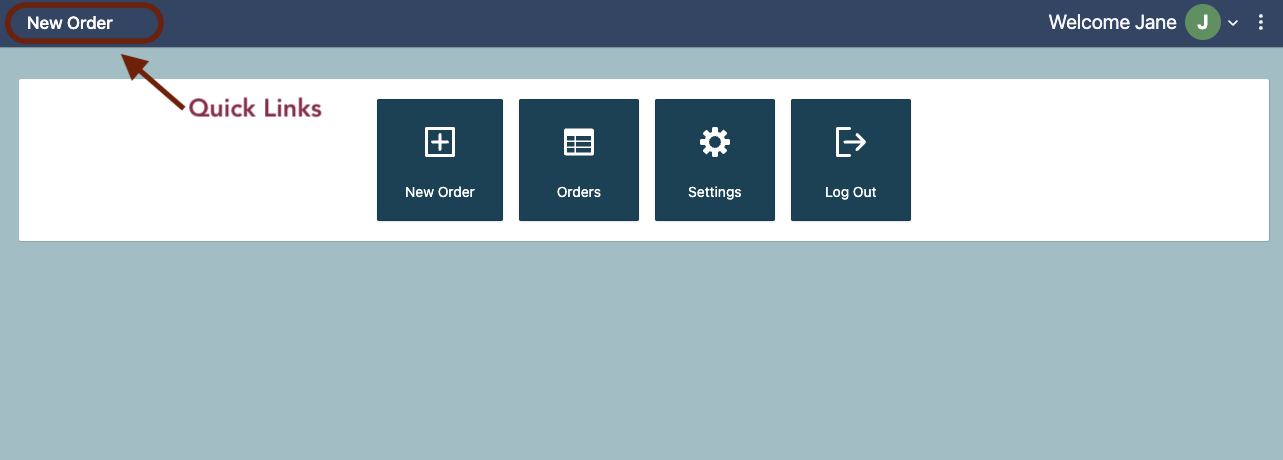 Along the right, the navigation bar has a **User** **Profile Menu,** and a **Help Menu** (accessed by clicking the 3 dot icon on the far right). 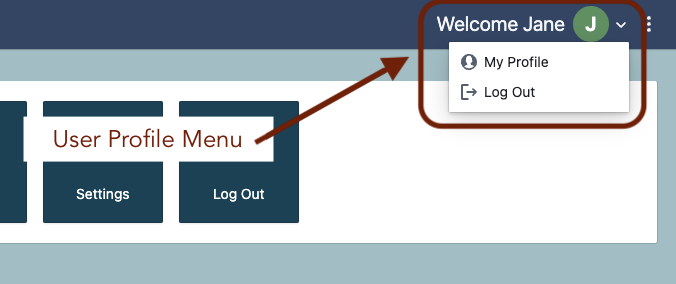 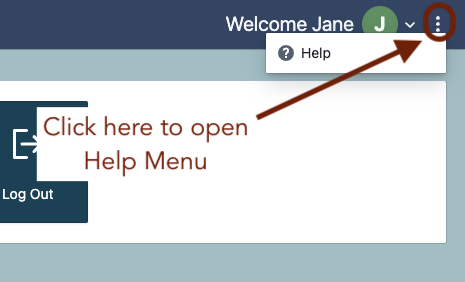 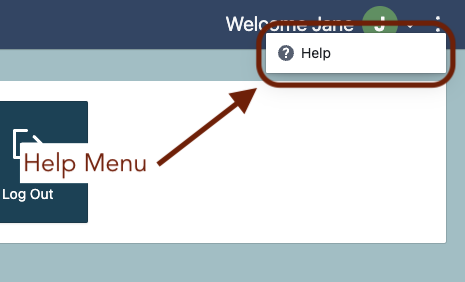 The help menu link will direct you to the **Help Page** which has a link back to this BOS BookStack shelf along with some email links as seen below. [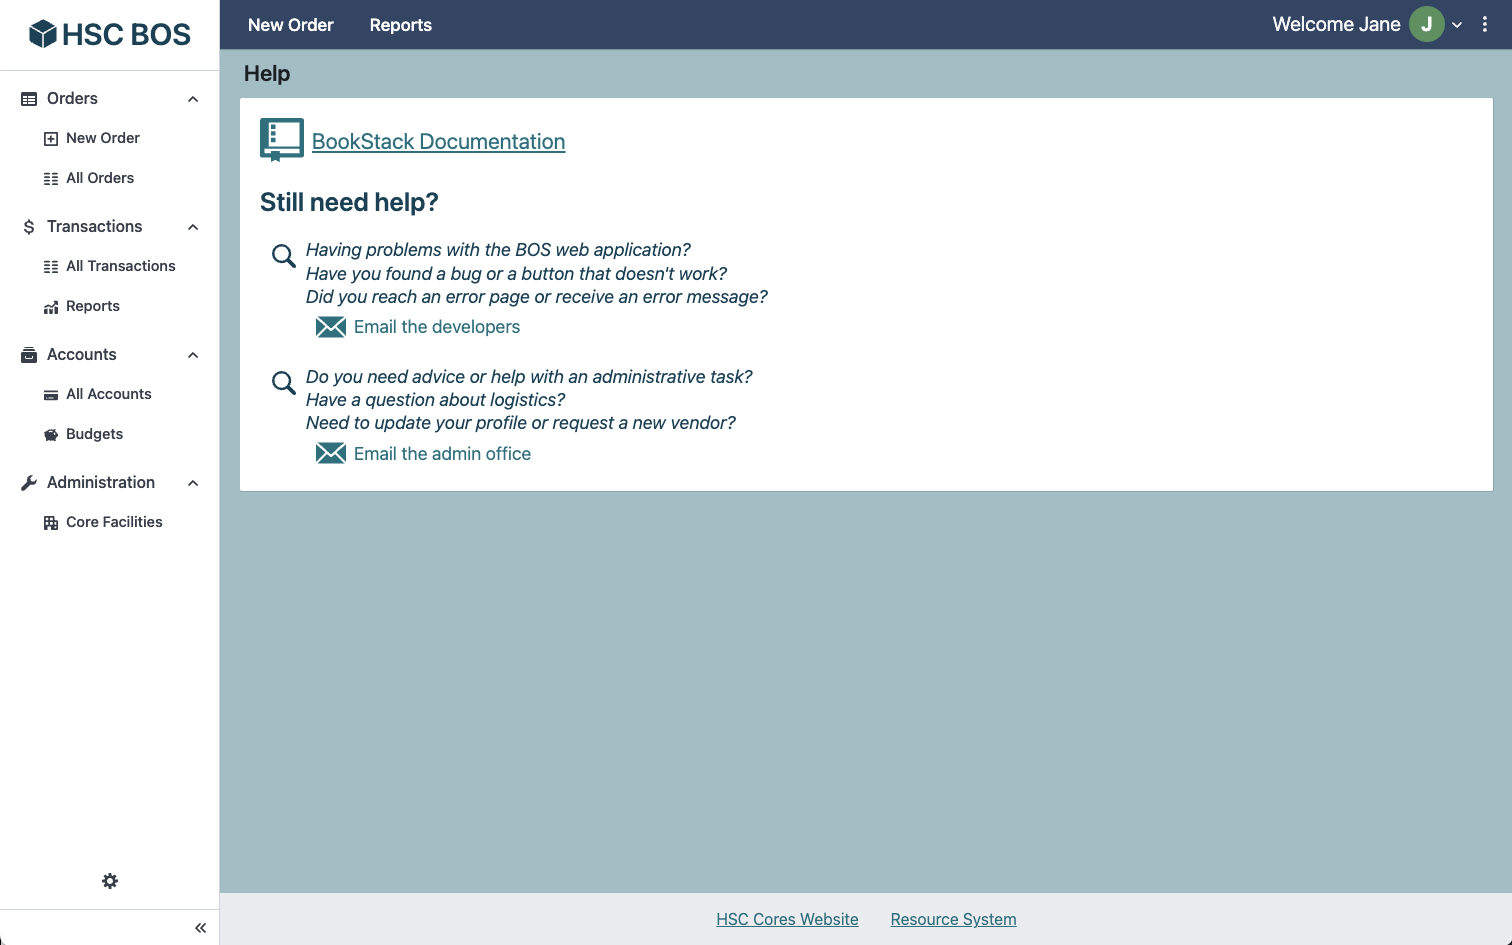](https://bookstack.cores.utah.edu/uploads/images/gallery/2024-01/helppage.png) *(Note that the navigation menu items on this screenshot are those available to **Lab Managers**.)* # BOS Session Configuration You can update your BOS session configuration from the **Session Configuration Page** accessed by clicking the **gear icon** on the bottom of the Side Navigation Menu. 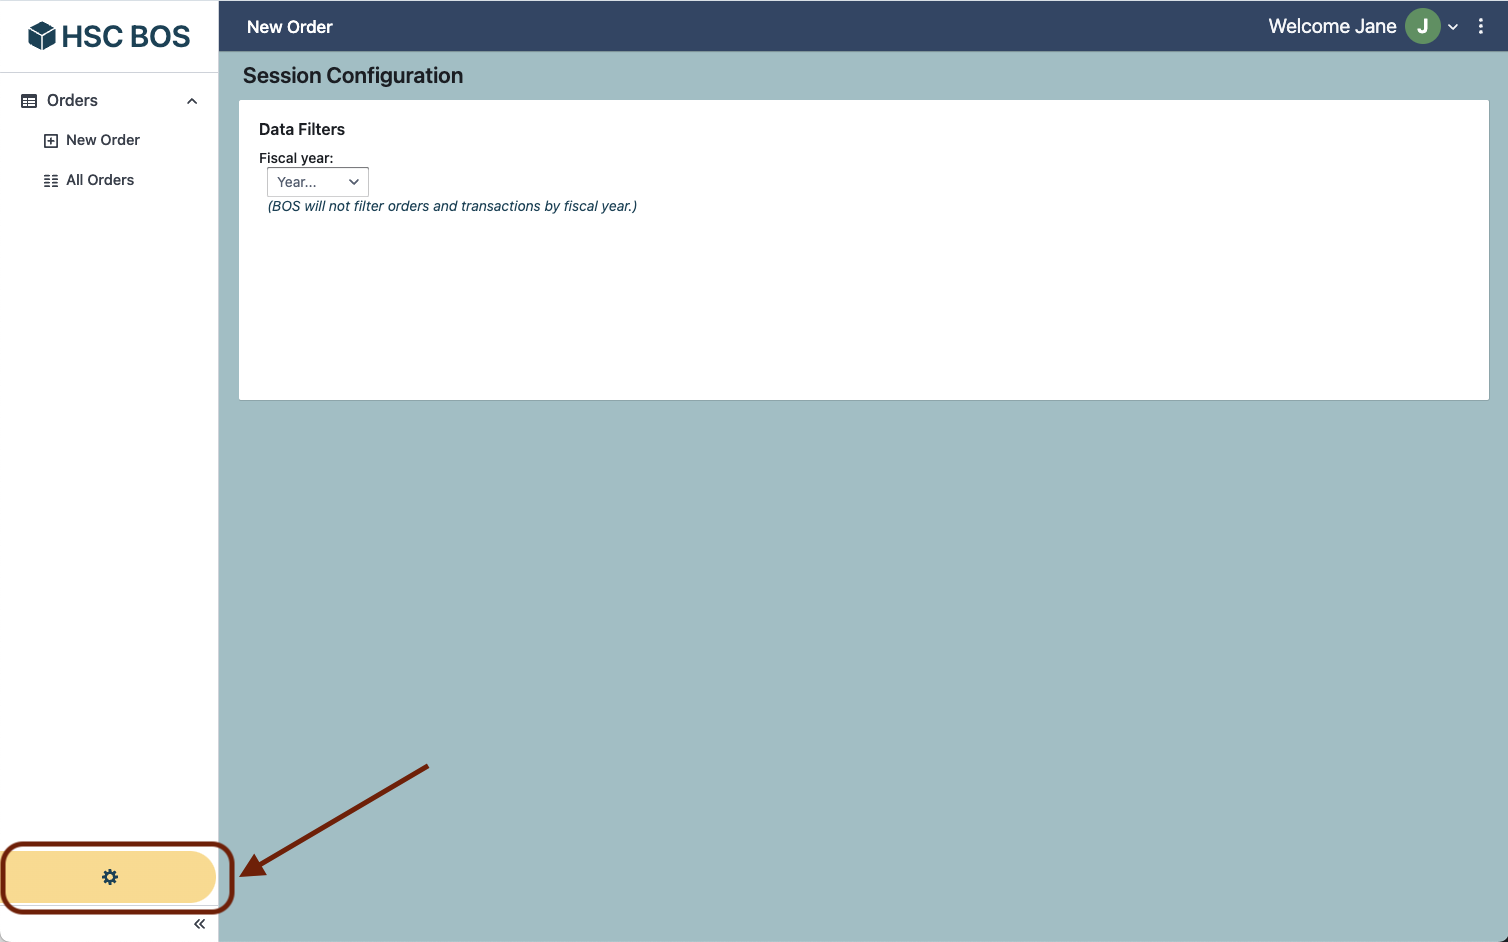 Here, you can opt to have BOS filter orders/transactions by fiscal year. Just click the arrow in the Fiscal Year drop down and then select a year. 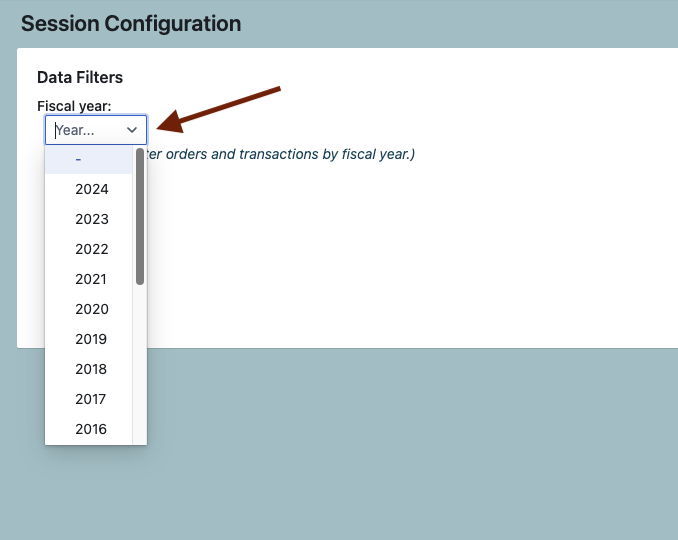 If a year is selected, the note will be updated and a clear button will become available. This will cause BOS to automatically filter orders and transactions. *This filter does not apply to Reports (accessible by those with permission only).* [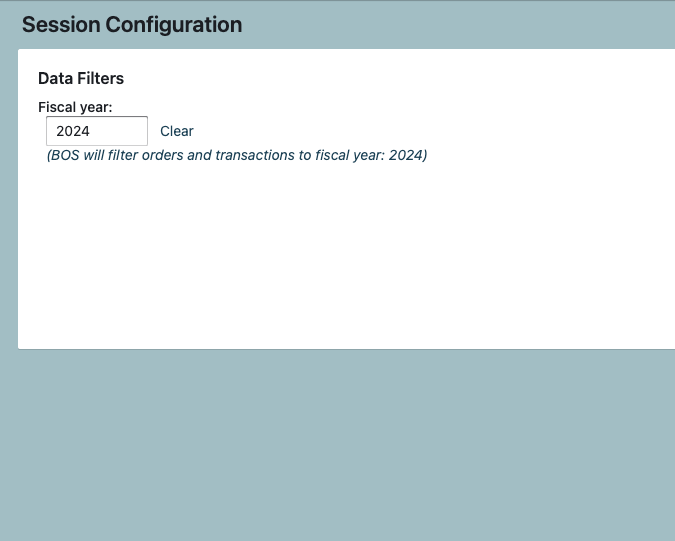](https://bookstack.cores.utah.edu/uploads/images/gallery/2024-01/config-dateselected.png) # User Profile You can view and (partially) edit your own user information in BOS from the **User Profile Page**. You can access this page from the top navigation bar.  The profile page shows your profile information in 2 boxes. The first contains your user details, the second displays all addresses on file for you. 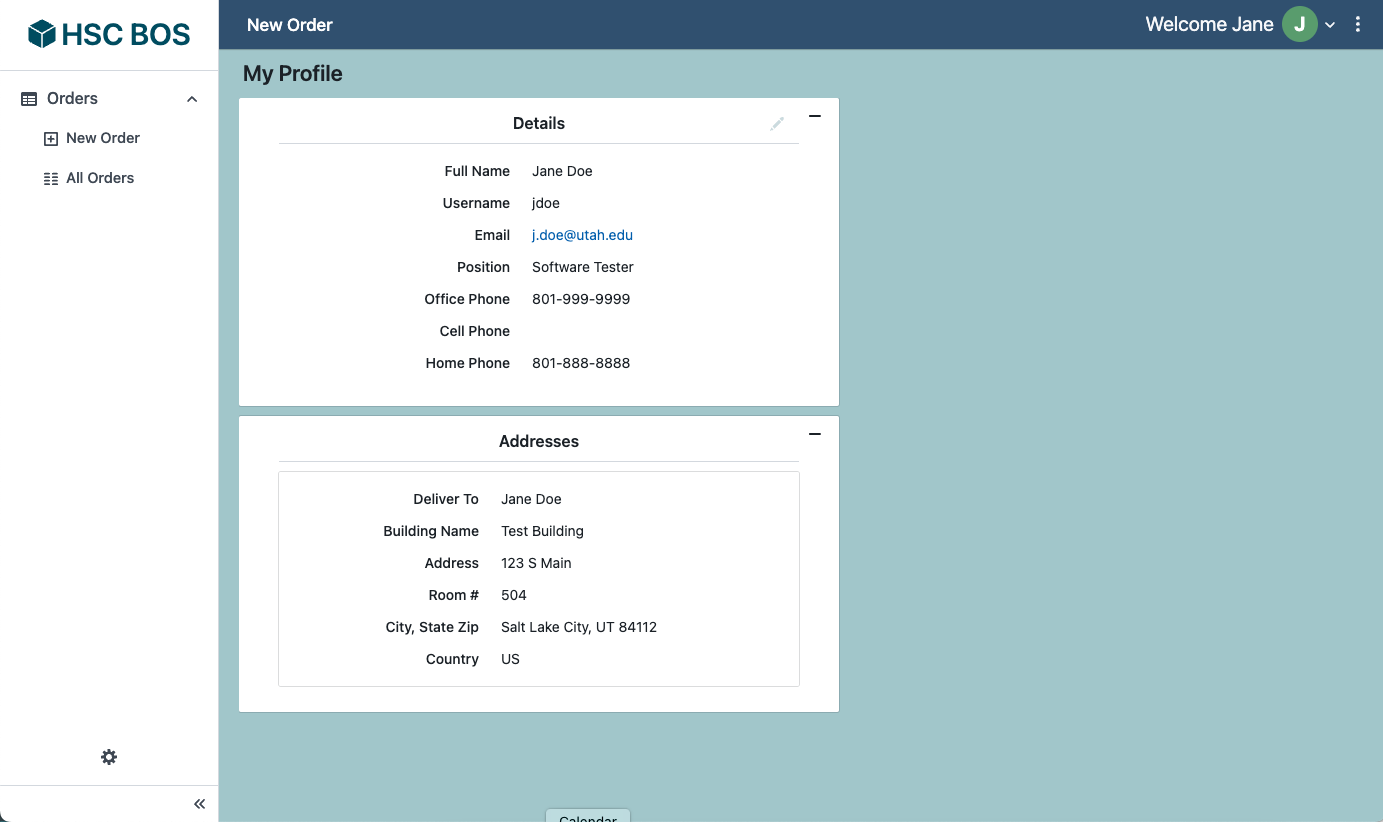 You can edit *some* user details in the **editable details box** (see details about how these work below). Fields that can be update include name, email address, position and phone numbers. Username is the user's University of Utah UNID. **Addresses** can be *added* or *edited* by the HSC Cores' [Admin Office](mailto:billing@cores.utah.edu?subject=Administration%20help%20needed%20with%20HSC%20BOS); contact them to make any necessary changes.